
Photography Tutorial: Creative Photographic Techniques
April 3, 2012
Posted in: Photographers Tutorial Post-Production
The process of creating images using textures is a form of art that I am always developing. Due to the great response on such images, I would like to fill you in on my process of creating these images.
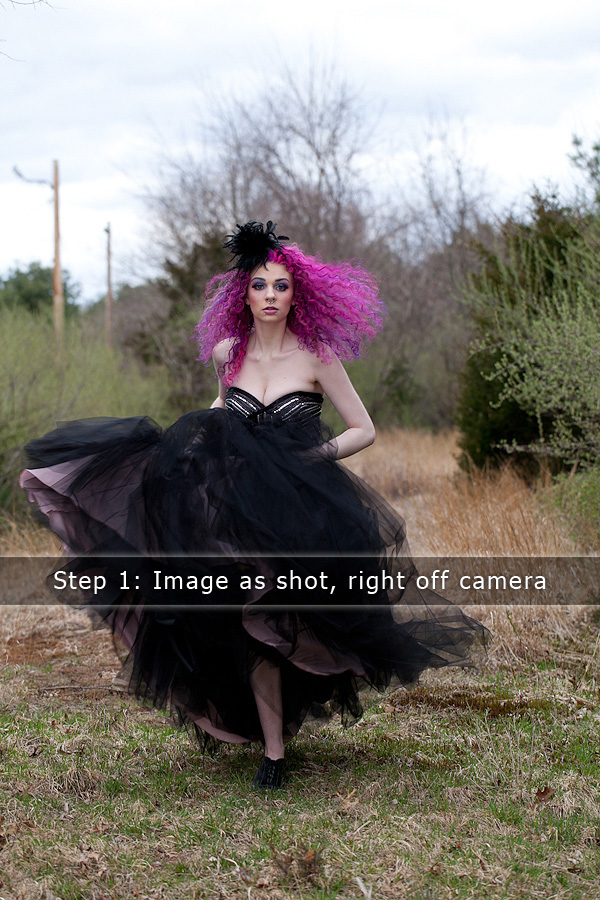
In this particular image, shot on location at my studio, I had our model, Cory Nova, do a few running passes towards the camera as I snapped off a few frames. We shot roughly 6 or 7 images and of those, I decided on this one because of the flow, expression, and correct lighting for what I had in mind to create my final image idea. I say this because going into my photo shoots, I always have a specific idea planned for the post-production/final image. The lighting will need to be right for my plans, otherwise, there will be images that just won't work.
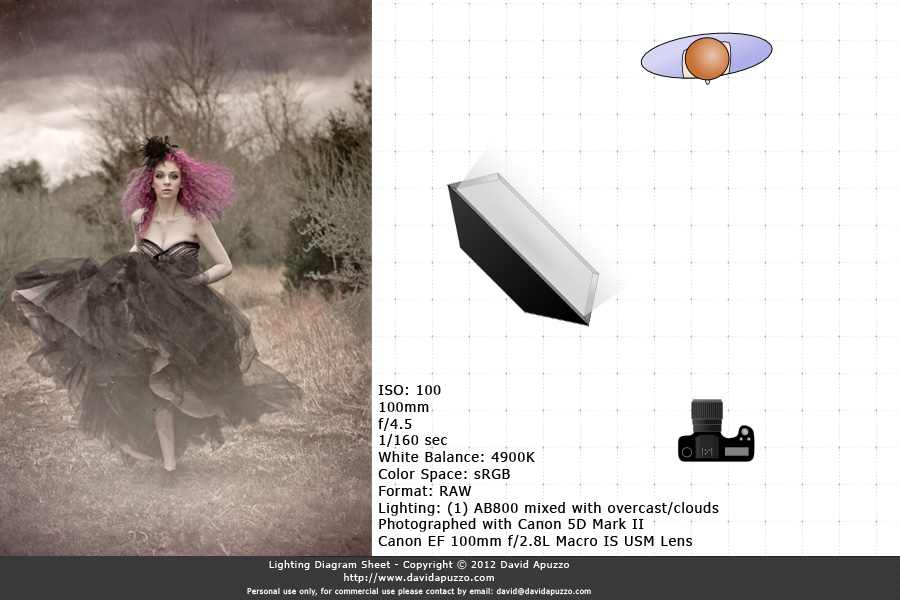
This lighting set up was actually very simple with just one light faced on an angle to the subjects right side. (see diagram below - also includes camera settings).
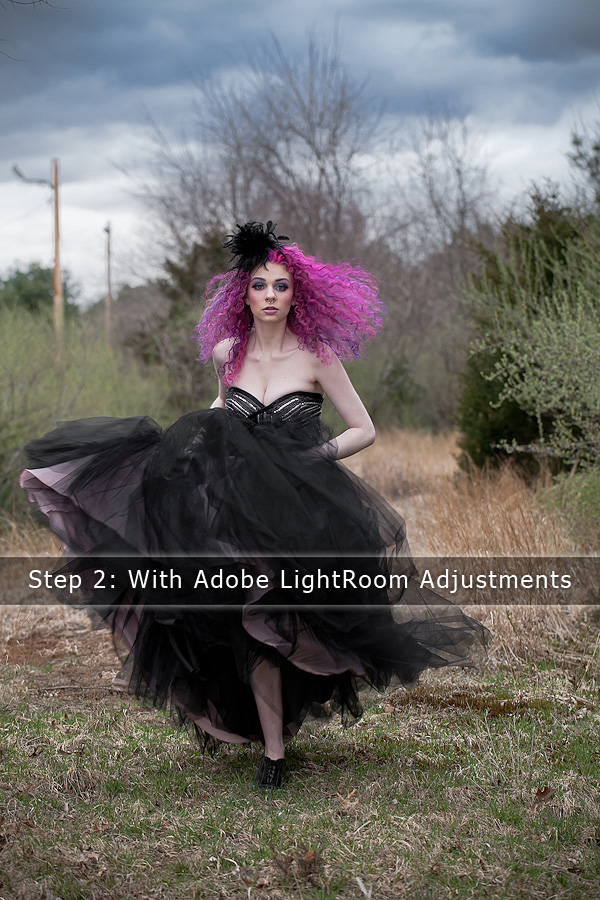
Once the image is captured, it's time for the post-production process. The first step is always color corrections in Adobe LightRoom. For this image, I am using Adobe LightRoom 3. I make minor color corrections, balancing my light, shadows, color, and depth. Here are images that demonstrate what is taken directly from the camera, no corrections made, versus the first round of LightRoom corrections. Once completed with these LightRoom corrections, I move the image over to Adobe Photoshop CS5 where I start to add texture.
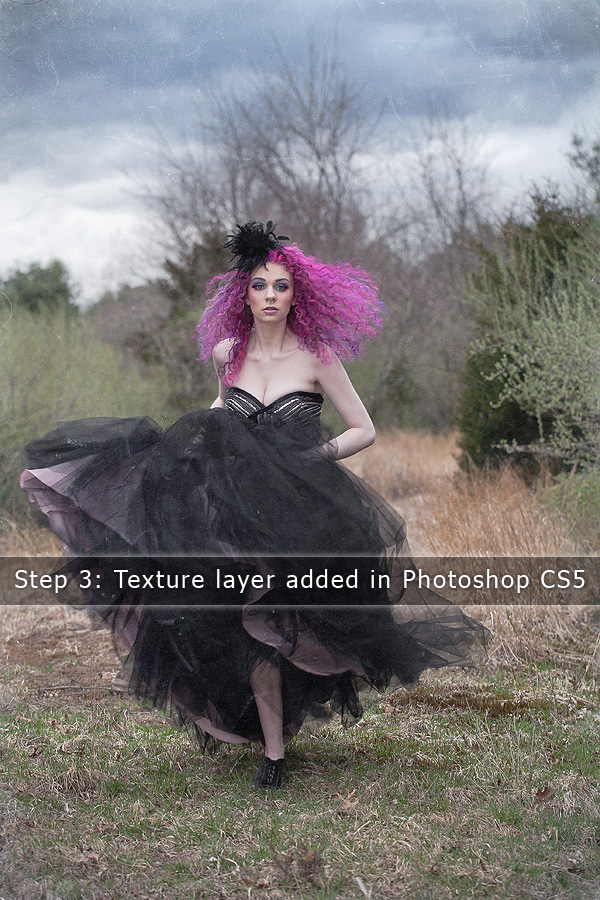
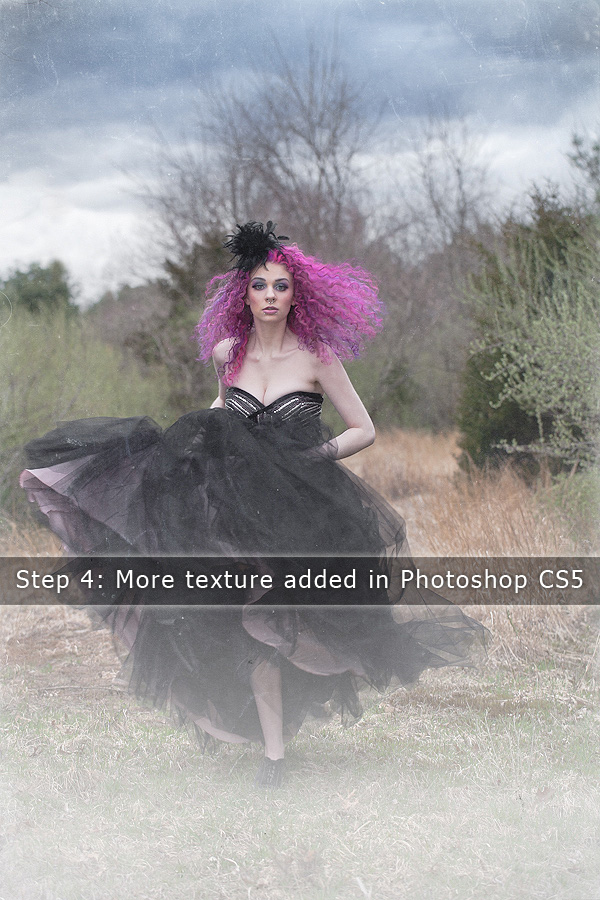
Once I have exported the image to Adobe Photoshop CS5 via "edit in" from LightRoom, I begin to add texture. I will sometimes try a few different textures that I have archived for use, but depending on the image and the composition of lights and darks, some will work better than others. This is the "trial and error" part of the process. Some new ideas would come into play here as the image starts to build toward the look I'm going for. For me, it's always a learning experience to try new things, even if you know it won't work, it's the only way we can learn and advance our crafts.
In these images below, you will see the left image with a basic texture added, while the image on the right is a completely separate texture added on top of the first. This is the point where the image starts to take it's real shape in the tone.
Once I have completed adding my textures in Photoshop, I move the image back into LightRoom to add my final color corrections to produce the final look. What I like about moving the image back into LightRoom is your image corrections will reset back to zero, so now you have a completely new image to work with when adding your new LightRoom corrections. I find this extremely helpful because now you can push your pixels further than the original file you began editing with.
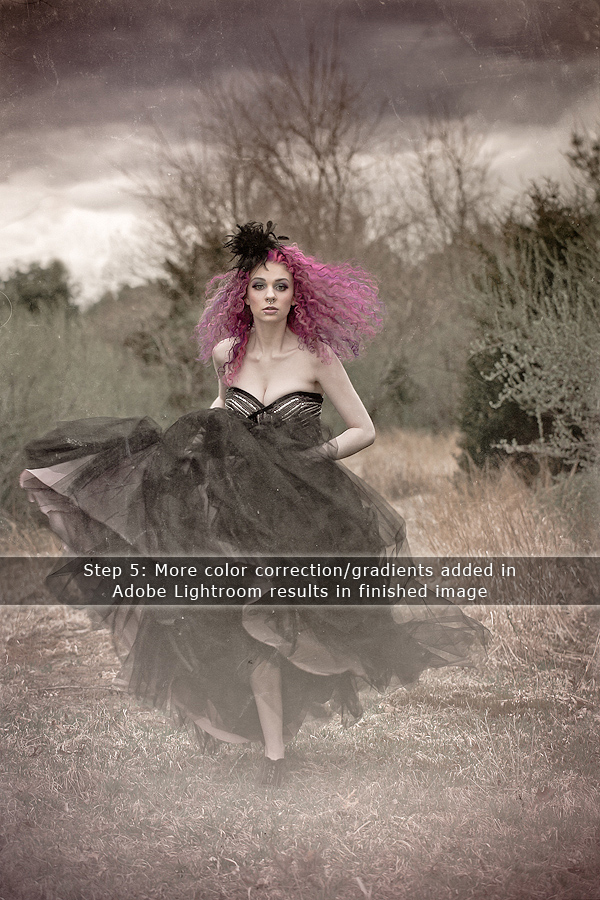
Textures are always a great process to work with. It does take some time, but the results are extremely fulfilling. If you have any questions/comments, or would like to see more of these tutorial blog posts, please leave a comment with your thoughts. With this post, I hope this gave you a great insight of what goes on behind the scenes in the process of my textured images.